Of all the silly tricks I know, none is more engaging than solving a Rubik’s. The reason for this is because the Rubik’s cube is something that everyone has played around with but few people have solved. Being able to solve one gives other people the impression that you have a savant-like intellect and it’s a lot of fun to solve a Rubik’s cube, show it to someone and then screw it all back up as if solving something that no one else in the room can figure out it is a task that bores your vast brain.
The funny thing is that solving a Rubik’s cube is actually very easy and can be done using just a few rote steps performed over and over again in the right order.
Step 0: We actually have to start out with a little bit of understanding about a Rubik’s cube so that we can appreciate how we’re solving it. There are 2 things we need to know. First is that the center pieces don’t move. Sure, it seems like they do, but play around with the cube for a while and you’ll see that the white and yellow center tiles will always be on opposite sides of each other. If you look at the white center tile from the top, the center tiles will always be (moving clockwise around the side) green-orange-blue-red.
With this in mind, the second fact for solving a Rubik’s cube comes into play: every square on the cube belongs in exactly 1 place and exactly 1 position. If the center pieces are always in the same place, then every other piece has exactly one place it can go.
Take the white-blue side piece (find it on your cube if you have one in front of you): The only place it can go is between the white center piece and the blue center piece. Or look for the blue-yellow-red corner piece. There is only one place and one orientation where it can be on a solved cube. The blue must be on the blue face, the red must be on the red face and the yellow must be on the yellow face.
With this in mind, every step we take will be to either move a piece (or set of piece) into the right place or into the right orientation.
And one more tip that is valuable for practicing: Don’t try to get all the way from start to end all at once. Master one step at a time and, once your’e comfortable with that step, move on to the next one.
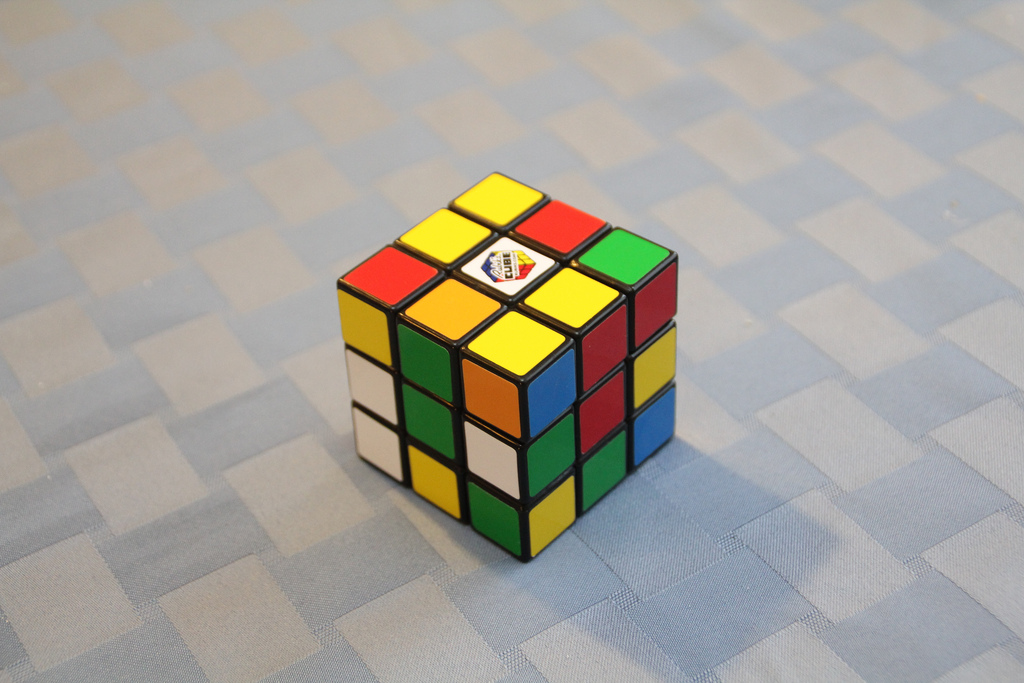
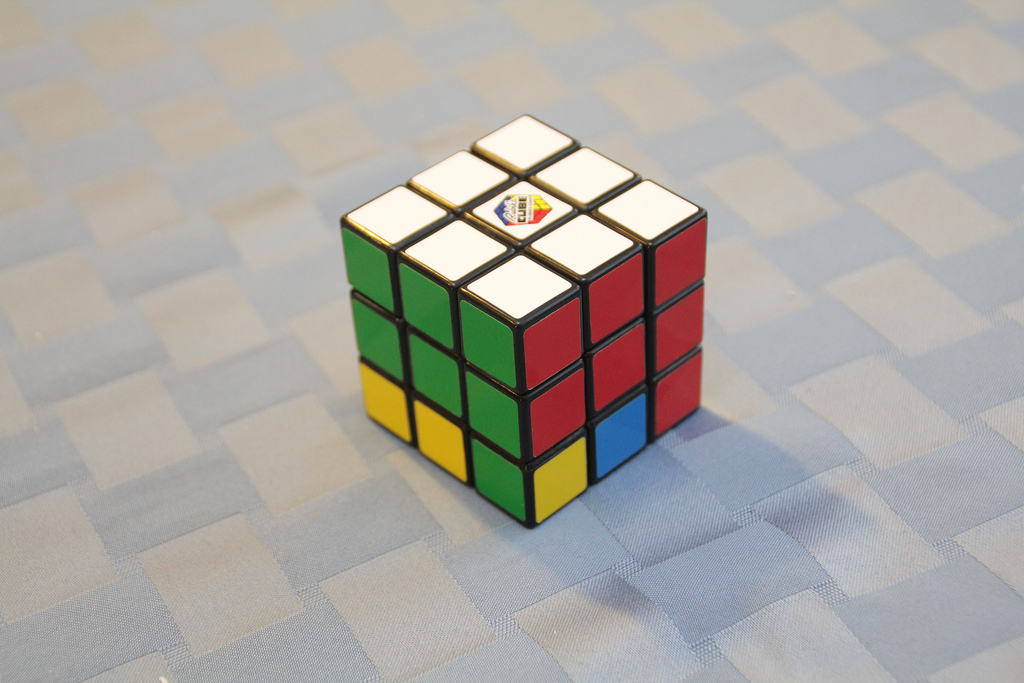
Step 1: Pick a starting side, make a cross
Before:
After:
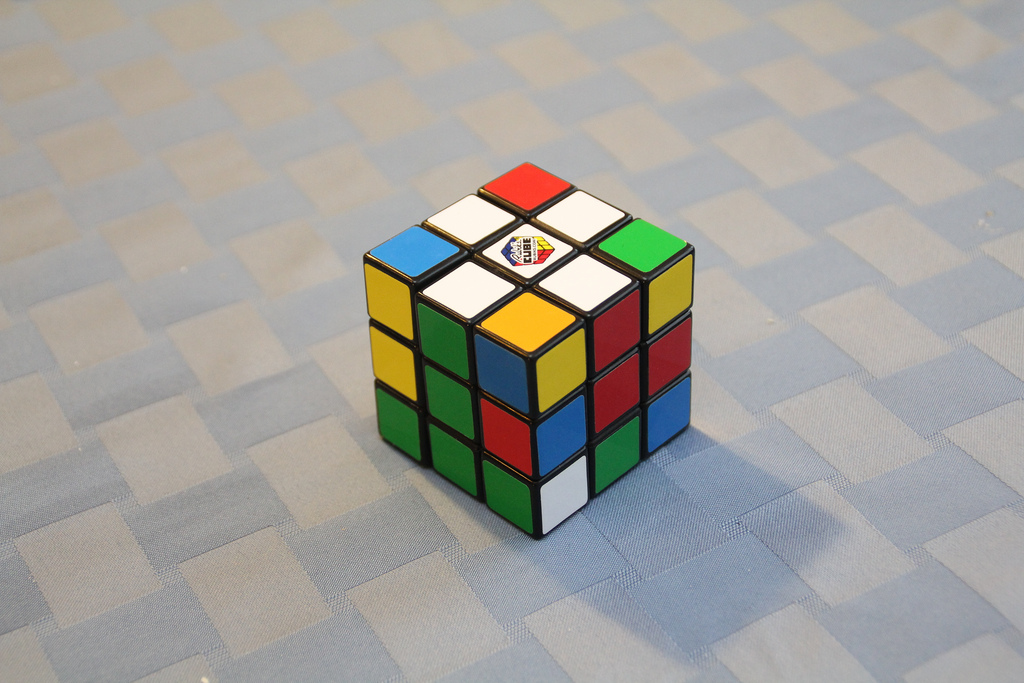
Pick a starting side. I like to start with white, so I’m going to assume this is the starting side from here on in. Find all the four 2-sided pieces with a white square and put them in the right place so they connect the white center to the blue, orange green and red centers.
The easiest thing to do for this is to try to get the colored side piece touching its corresponding center. Once you do this, you can simply rotate that face around until the white face is on top.
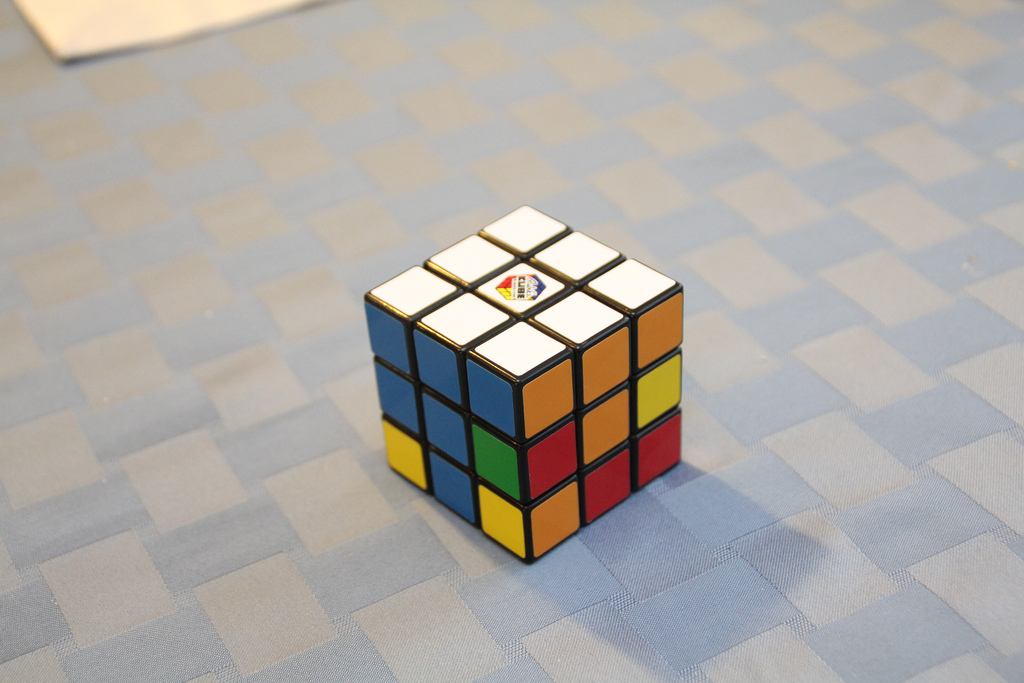
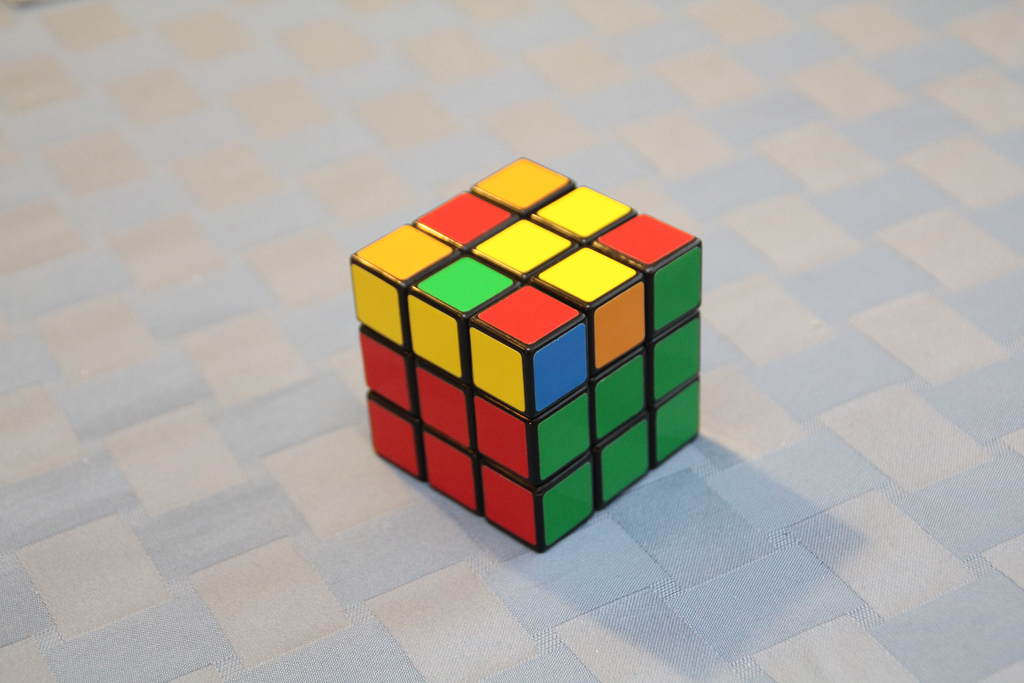
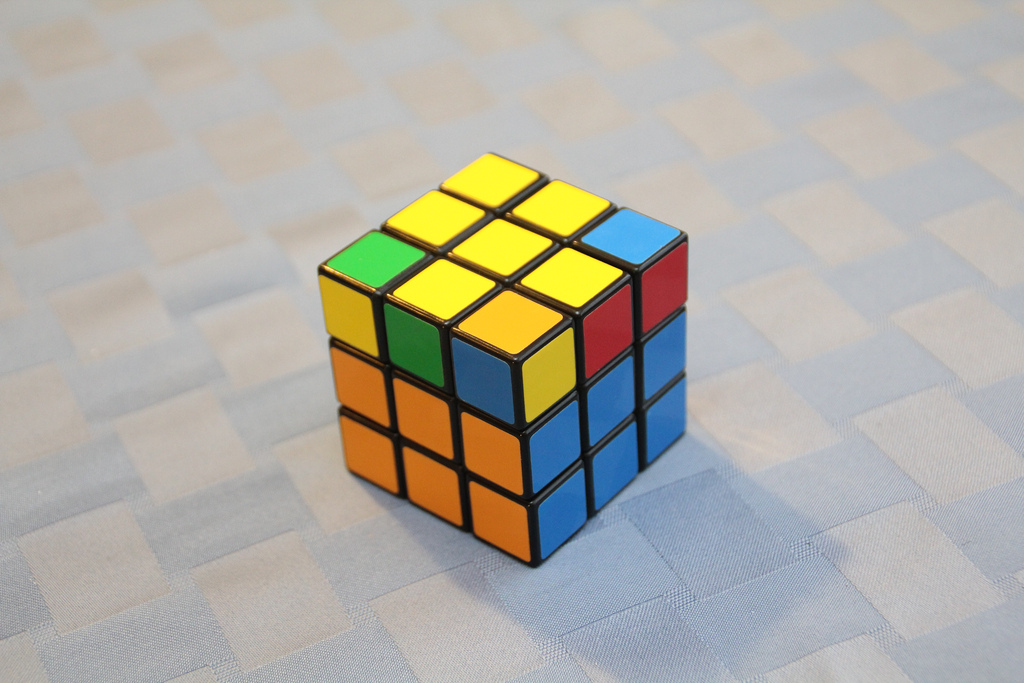
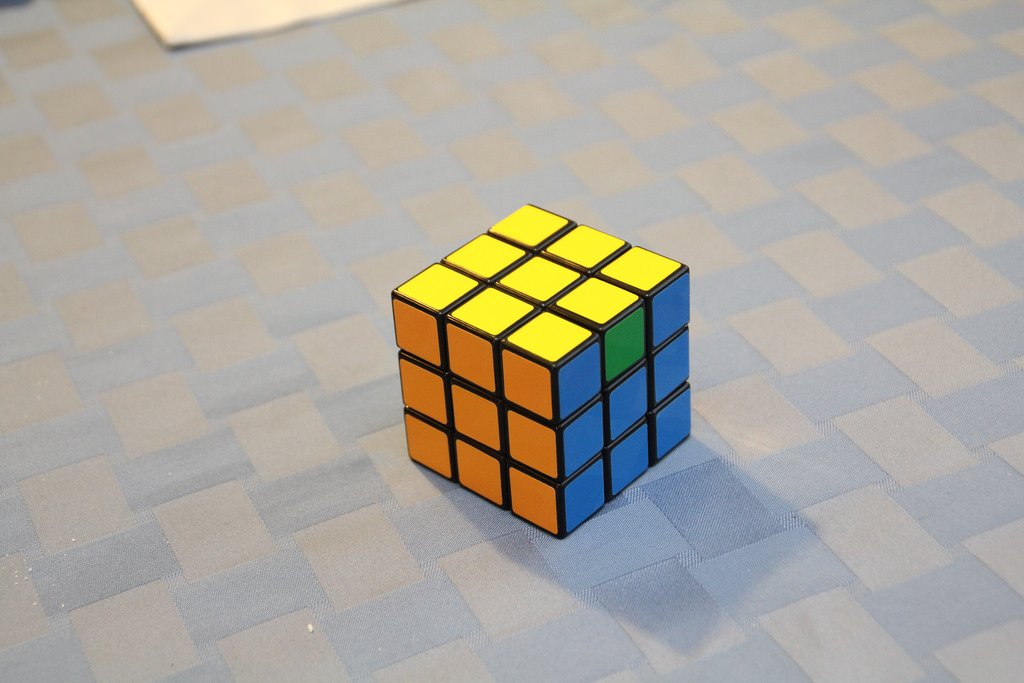
Step 2: Solve the top with the “corner rule”
Before:
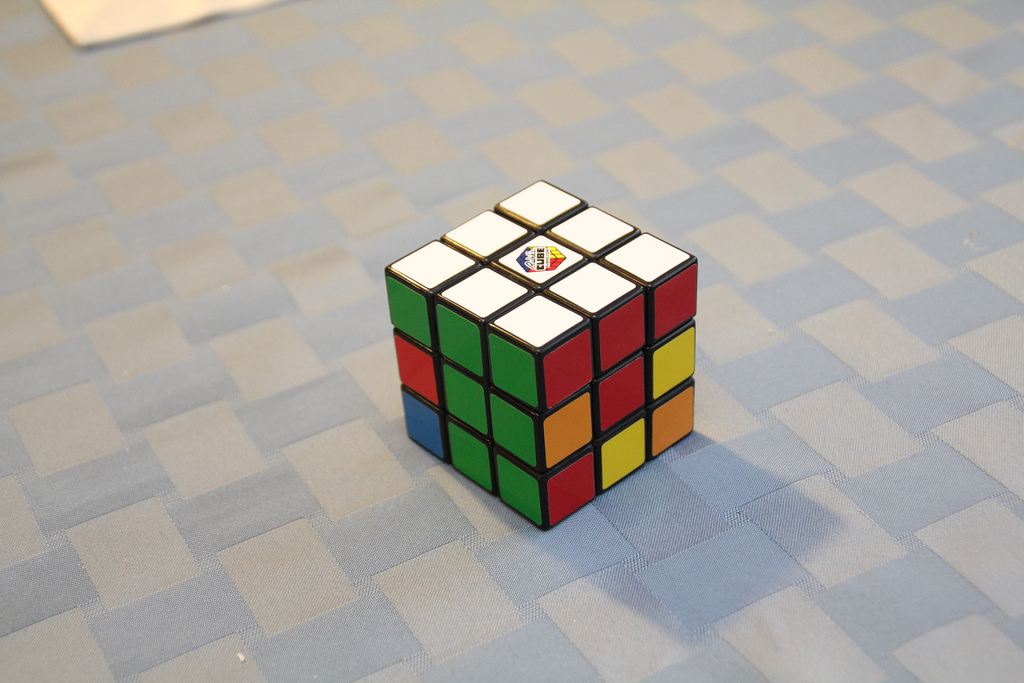
After:
Hold your cube with your chosen side facing you, one hand on either side of the cube. This is how we’re going to manipulate the cube for the moves we learn.
With your chosen side facing up, look for a corner piece with a white square on the bottom row of your cube. figure out where that corner should go and position it directly underneath that place on the cube. Rotate the cube so that the white square faces you. Now:
1) turn the bottom row in the direction of the white square
2) turn the side face down toward you
3) turn the bottom row back (so the white square faces you)
4) turn the side face back up
Your corner will now be in the right place and the right position. Do this for all the corners on the top face.
If your corner is facing down on the bottom row or is just in the wrong place, perform this move so that corner moves in some way. Play around with it until you can get the corner on the bottom with your chosen color on the side.
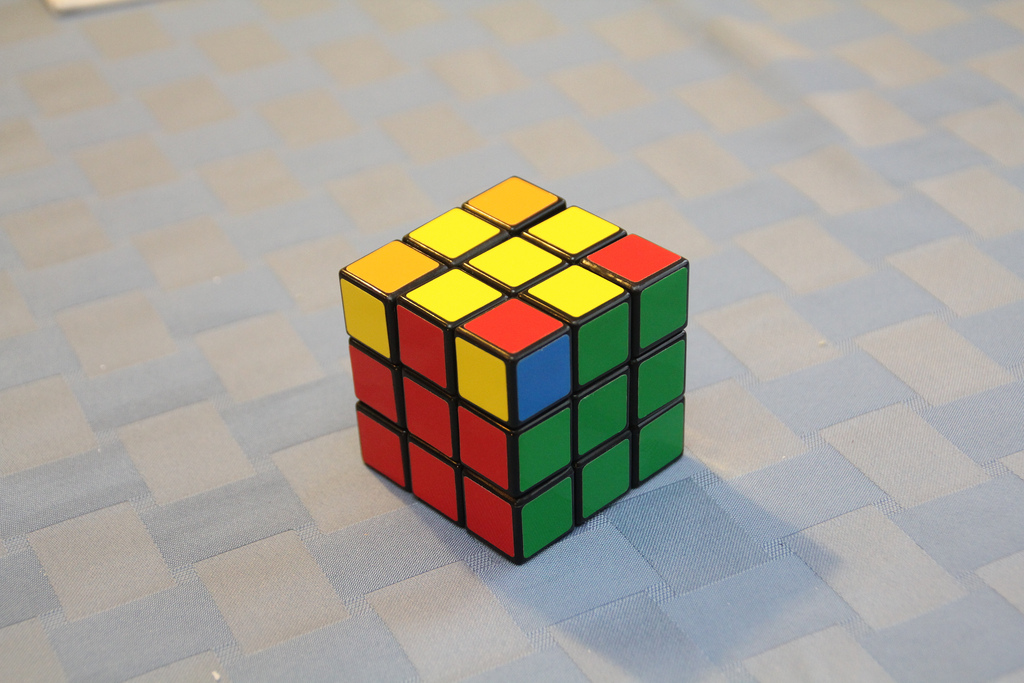
Now we’ve solved the top face of our cube.
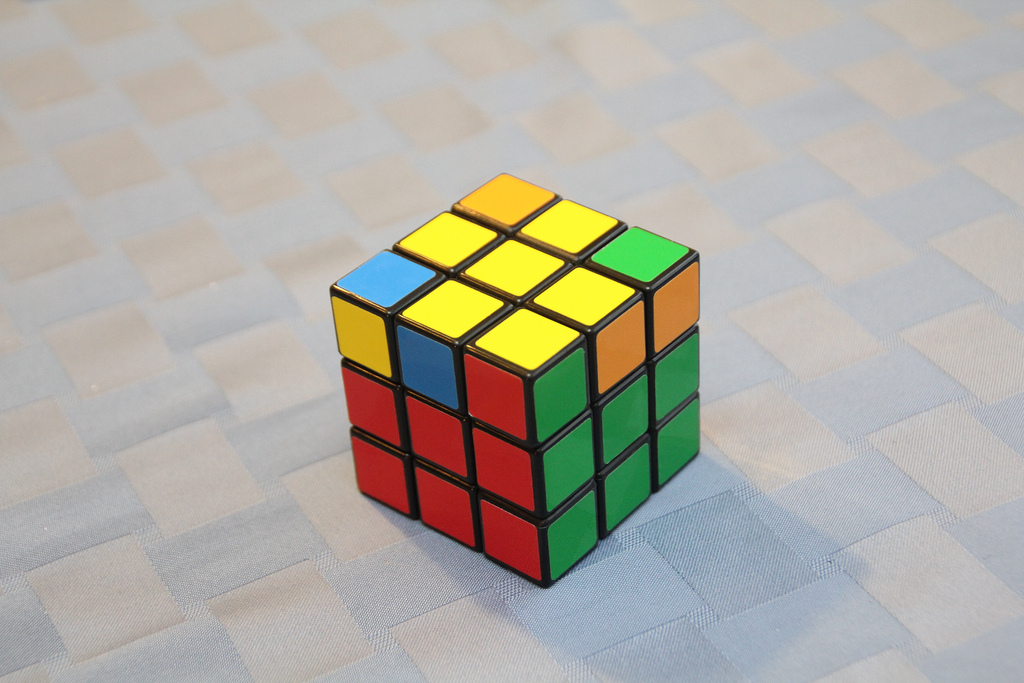
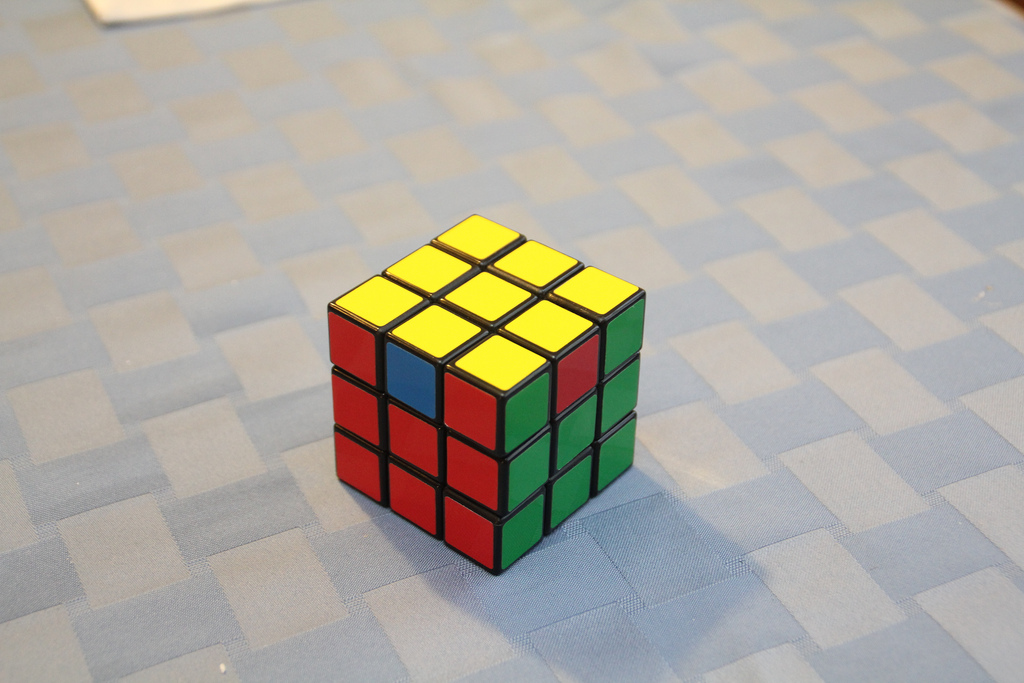
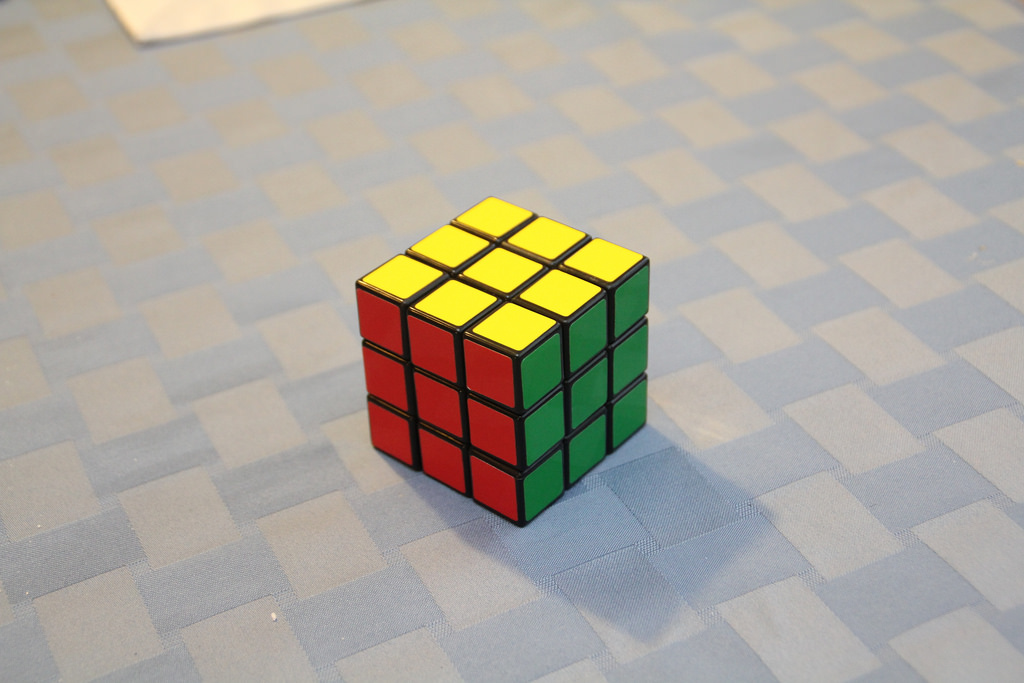
Step 3: Solve the middle sides with the side rule
Before:
After:
Now we’re going to get the 4 sides so that we’ve solved 2 rows of the cube.
Find a 2-sided piece on the bottom row that does NOT have a yellow side. Place it under where it will ultimately go. The bottom row of the cube will be offset 45 degrees and look like this:
Now the side rule
1) rotate the bottom face 2 turns in the direction of the color facing you. 2) Turn the right hand face down.
3) Turn the bottom face 1 turn back.
4) Turn the right hand face up face up.
5) Solve for the corner.
Step 4: Cross on the bottom
Before:
After:
If you’re lucky, you’ll see this pattern on the bottom of your cube.
Let’s assume for the sake of simplicity that you do see it. If you don’t see it, you either already have the cross we need and can skip this step or you just have to perform this step once to get this pattern and then again to get the cross.
Hold the cube like so, with one correct edge facing toward you and the other facing to the left. Then perform this set of moves
1) middle row up
2) top face counter clockwise
3)middle row back
4) top face counter clockwise twice
5) middle row up
6) top face counter clockwise
7) middle row back
Step 5: Bottom corners in the right place
Before:
After:
Now let’s work on the bottom corners. First, we’ll get them in the right place. Spin the bottom face around until you get two corners in the right place on the same side.
Now place that side in your right hand (as if you’re holding onto it so it doesn’t move). Then perform this move:
1) Turn that face down (toward you)
2) Turn the bottom face clockwise
3) Turn the the right face up (back into position)
4) Fix the displaced corner (step 2)
5) Fix the displaced side (step 3)
6) Fix the cross on the bottom (step 5)
Step 6: Bottom corners in the right orientation
Before:
After:
This is the trickiest one because it can require multiple steps. There are 2 similar moves we can use to control rotation: The right hand rule and the left hand rule.
The trick is to hold the cube with both hands. If you’re doing the right hand rule, the corner in the top right will not rotate while the other 3 corners will rotate in orientation counter clockwise.
If you are doing the left hand rule, the corner in the top left with not rotate while the other 3 corners will rotate clockwise.
The right hand rule is:
1) turn the right face up.
2) rotate the bottom face 2 turns counter clockwise
3) right face down
4) rotate the bottom face 1 turn counter clockwise
5) right face up
6) rotate the bottom face 1 turn counter clockwise
7) right face down
The left hand rule is
1) turn the left face up.
2) rotate the bottom face 2 turns clockwise
3) left face down
4) rotate the bottom face 1 turn clockwise
5) left face up
6) rotate the bottom face 1 turn clockwise
7) left face down
You may need to use a combination of these two moves to rotate some corners but not others while you get the corners in place for the final move that turns all the corner faces in the right orientation.
Step 7: rotate the edges to the appropriate sides
Before:
After:
Now we just need to get our sides in the right place. This is tricky because we’ll use the right hand rule AND the left hand rule, one right after the other.
If we start with the right hand rule, we will rotate 3 of our sides clockwise.
If we start with the left hand rule, we will rotate 3 of our sides counter clockwise.
Hold the cube so that the solved side is facing away from the hand you’re starting with. Then:
Move 3 edges clockwise:
1) Hold the cube in your right hand with the solved side pointing to the left.
2) perform the right hand rule
3) find the corner that is still solved and use it to “fix” the corners again using the left hand rule.
Move 3 edges counter clockwise
1) Hold the cube in your left hand with the solved side pointing to the right.
2) perform the left hand rule
3) find the corner that is still solved and use it to “fix” the corners again using the right hand rule.
Congratulations! Your Rubik’s cube is solved!