Silverlight Concepts Covered:
- Building a basic Silverlight project
- Creating code behind for a event triggered by the user
- Creating an HTML alert (a fake MessageBox) in Silverlight
Project Files are available for download at the bottom of the page.
Because I’m an interaction designer and not a coder, I find that there are certain things that can be very limiting for me. I’ve decided to fix that by learning how to code properly. To do so, I’m using a book that actually makes sense to me: Head First C#. If you’ve never used the Head First series, its generally a pretty good series zero-to-sixty book on the given topic which teaches by doing (the only way I’ve found I can learn anything).
Sadly, Head First C# currently uses WinForms for all user interfaces. This is the beginning of a series in which I’ll go through the book, but replace all the WinForms with Silverlight. I will very purposely not give the rest of the lessons because I have a nagging moral qualm in the back of my mind about taking someone else’s intellectual property and putting it up on my blog. Call me old fashioned.
I will, however, be going through the project and offering alternative code downloads of the projects (with Silverlight interfaces). I figure that, because the Heads First books allow free downloads of their project code on their website, they don’t mind me doing this on mine. If anyone from O’Reilly is reading this and disagrees, just let me know.
The first chapter has you building a program for entering and saving Contacts from start to finish. I will be pointing to the pages and listing alternative Silverlight steps
Pages 8-16
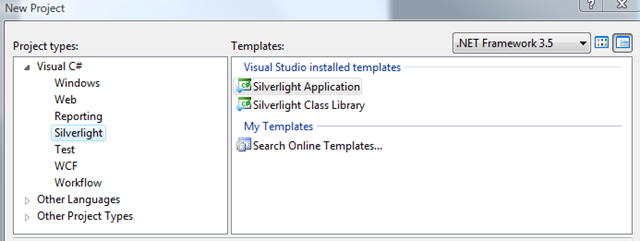
1. Start Visual Studio 2008 and select “Silverlight Application” from your list of options. The default “Web Page” options should be fine for what we’re doing.
2. Open up Expression Blend 2.5 (I’m using the June 2008 Preview) and find your project and open it.
![clip_image001[12]](https://matthiasshapiro.com/wp-content/uploads/2008/08/clip-image00112.png)
3. Double Click on the Page.xaml file to open it up in Blend. We’re going to create the basics of our user interface here.
4. Go ahead and grab the “Objectville Paper Co” image from the Heads First web site. Right click on your project in Blend and select “Add New Folder”. Name your new folder “Images”. Right click on that folder, click “Add Existing Item…” and navigate the graphic you downloaded. Your project should look something like this:
![clip_image001[14]](https://matthiasshapiro.com/wp-content/uploads/2008/08/clip-image00114.png)
5. Drag the image from the project to the canvas. Things may look a little crowded on the canvas, so lets make it a little bigger. Click the “Properties” tab (a) on the right side of Blend and make sure you have UserControl (the highest object in the tree) selected in the “Objects and Timeline” (on the left side) (b). Change the Width to 600 and the Height to 800 (c).
(a)
![]()
(b)
![clip_image001[18]](https://matthiasshapiro.com/wp-content/uploads/2008/08/clip-image00118.png)
(c)
![clip_image001[20]](https://matthiasshapiro.com/wp-content/uploads/2008/08/clip-image00120.png)
6. You’ll probably notice that our images got stretched. We’re going to follow the spirit of HFC# and change it to be an unstretched size. Select the Image from your Objects and Timeline and set Stretch to None, HorizontalAlignment to Left and VerticalAlignment to Right.
![clip_image001[22]](https://matthiasshapiro.com/wp-content/uploads/2008/08/clip-image00122.png)
![clip_image001[24]](https://matthiasshapiro.com/wp-content/uploads/2008/08/clip-image00124.png)
7. Before we run the project, let’s change the background so we can tell where our page is. Select the LayoutRoot and change the Background to something not white (I chose a light blue). Save All in Blend and click on your open Visual Studio 2008 and hit F5. (I haven’t had a lot of luck getting Silverlight projects to run from Blend)
OK, that gets us to page 14. The next step is to add extra code to the auto-generated code in Visual Studio.
8. Go back to Blend and click on the Image and go to the Events section (the little lighting icon) of the Properties tab. This will give you a list of all the events available for the Image control.
![clip_image001[26]](https://matthiasshapiro.com/wp-content/uploads/2008/08/clip-image00126.png)
9. In MouseLeftButtonUp, type the name of the method you want called when the Image registers a MouseLeftButtonUp event (I typed ImageClick) and hit enter.
![]()
10. Blend will communicate to Visual Studio, which will in turn auto-generate all the code you need for that event handler. It should look something like this:
private void ImageClick(object sender, MouseButtonEventArgs e)
{
}
11. Type the following at the top of the page:
using System.Windows.Browser;
and then type the following into the ImageClick method:
HtmlPage.Window.Alert(“Contact List 1.0. nWritten by: Your Name”);
Run your project.
From here, HFC# walks through creating a database. The next installment will pick up after the database is created and we get to bind the data to our interface.
Download Project Files for this post: HFCSharp Part 1 Project Files